Mexican Restaurants-Student Initiative

Leave a comment

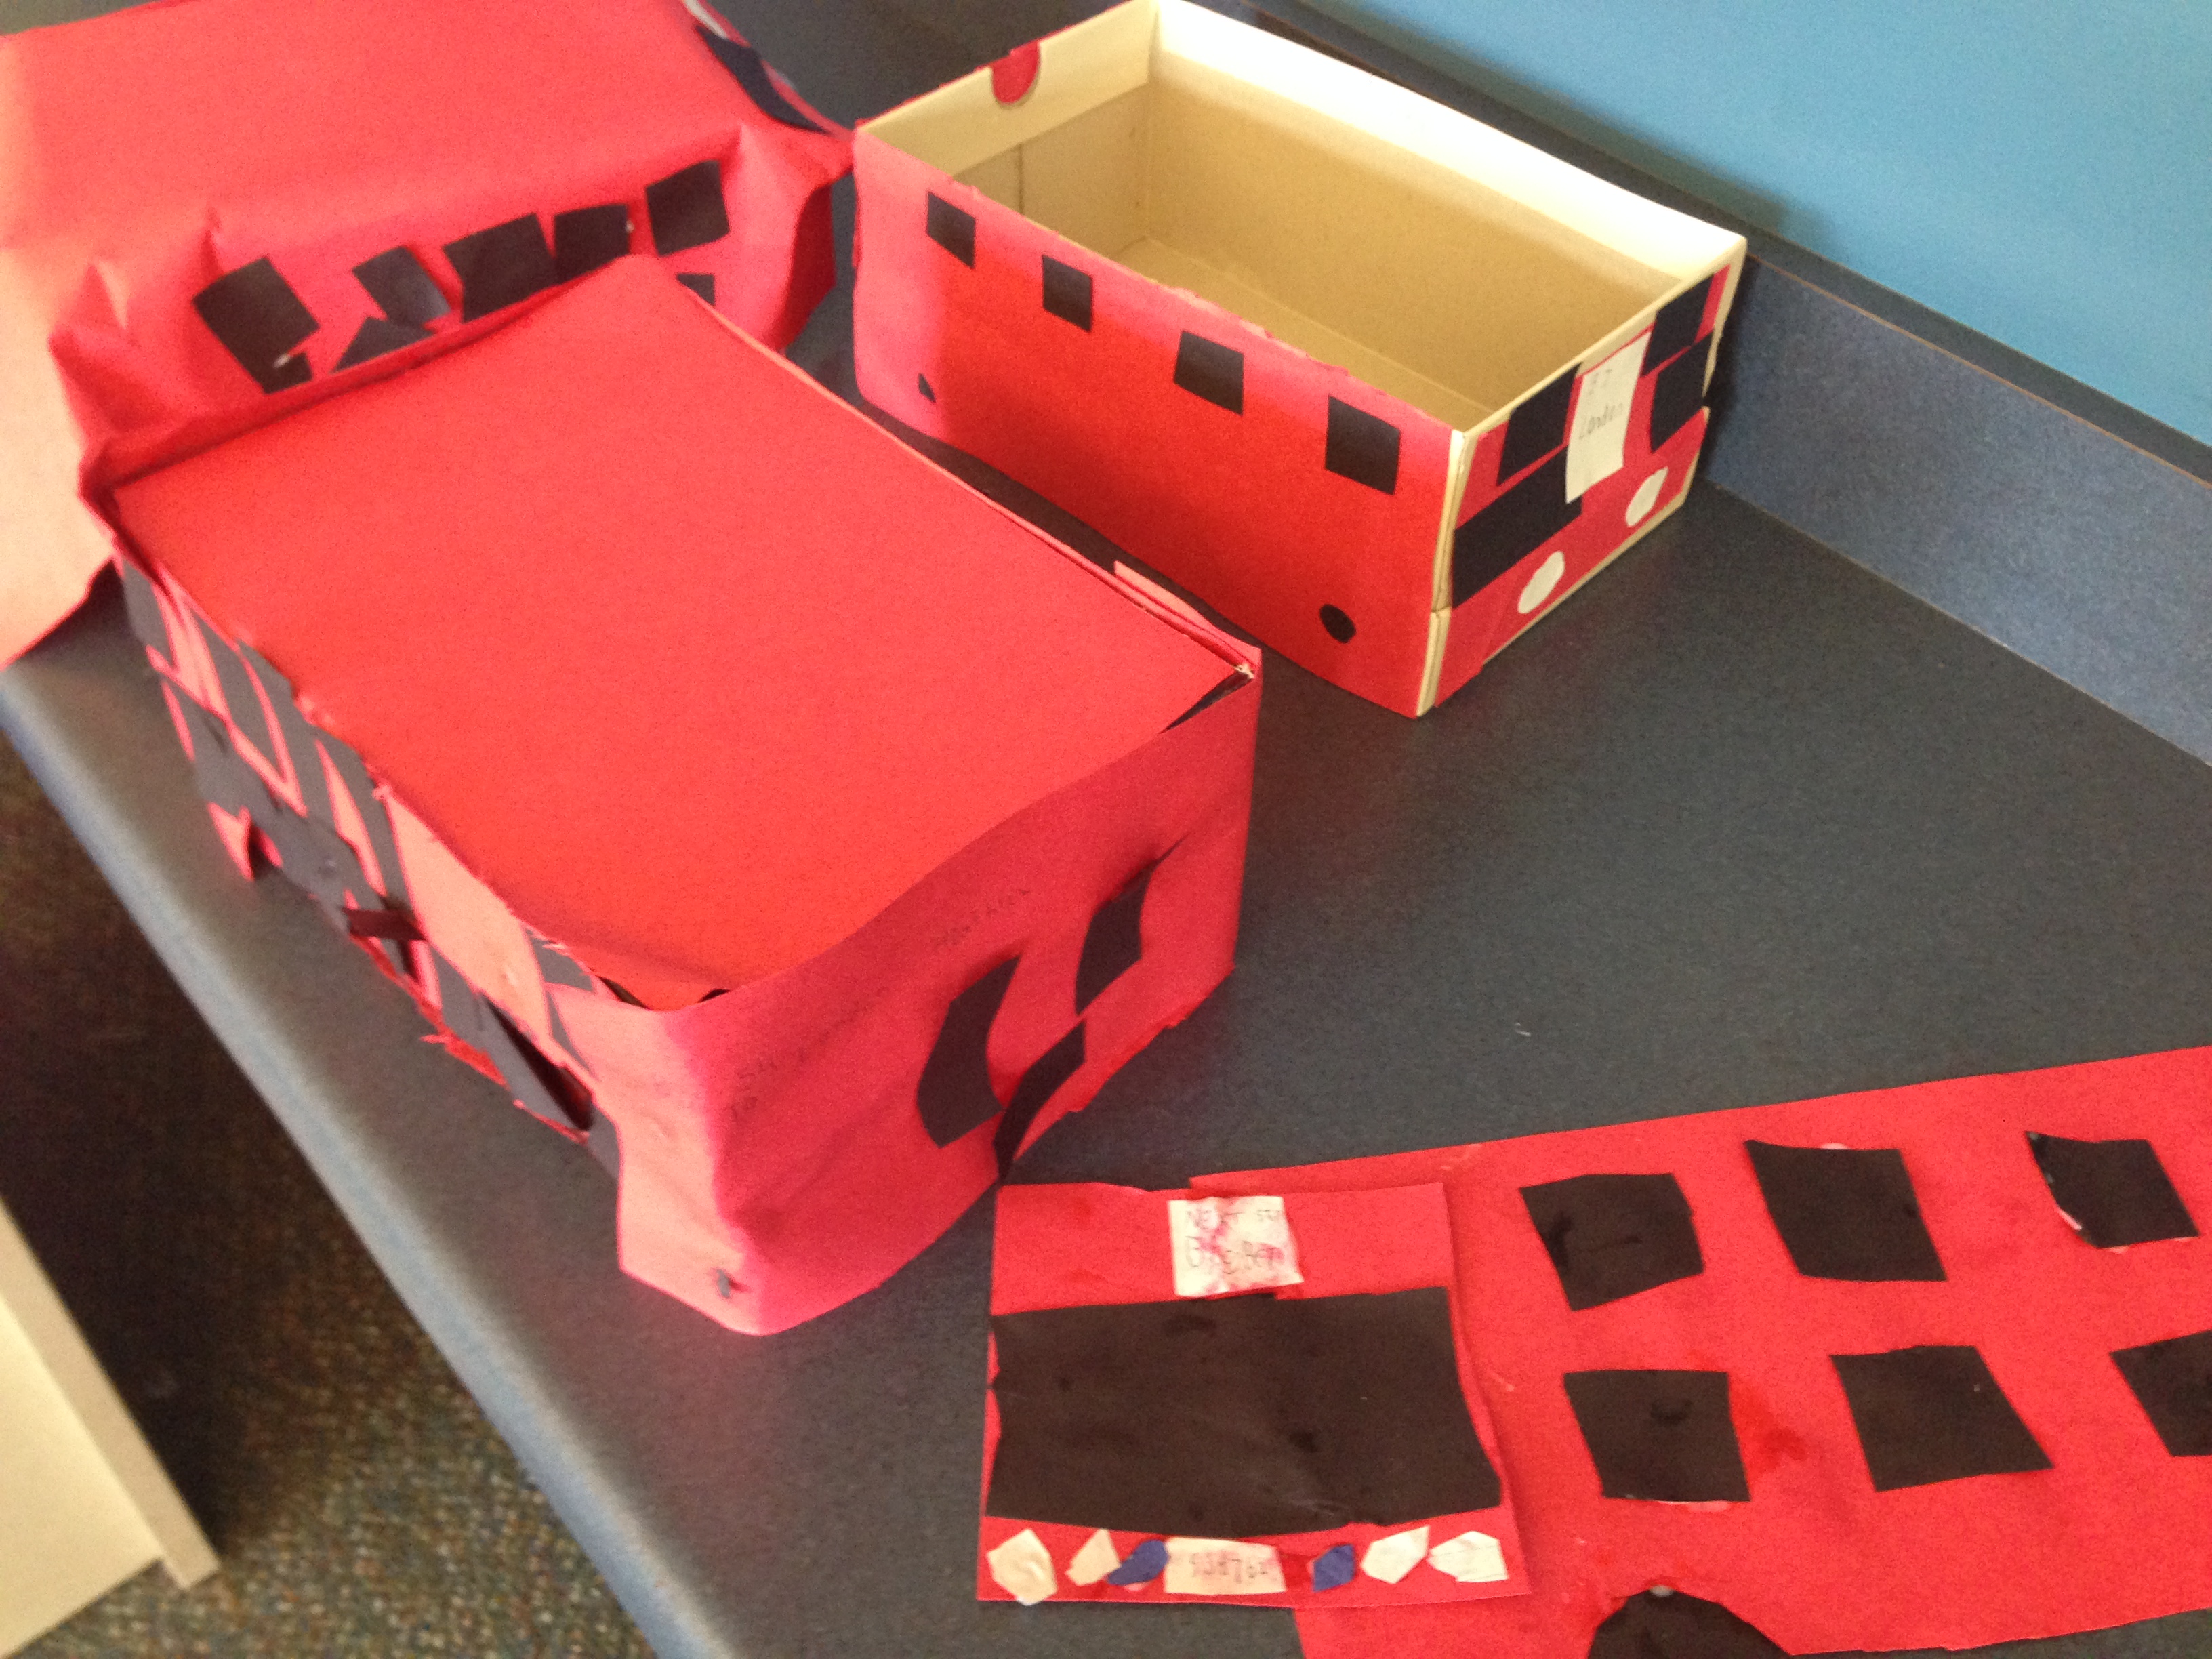
Kids never cease to surprise and amaze me.  One of the favorite projects of the summer in my Around the World class is visiting Mexico and designing their own restaurant.  Students love coming up with a name, creating a menu, and designing the restaurant by drawing it or building a 3-d  model.  This is my fourth year doing this project, yet the first where the students have created interactive restaurants.

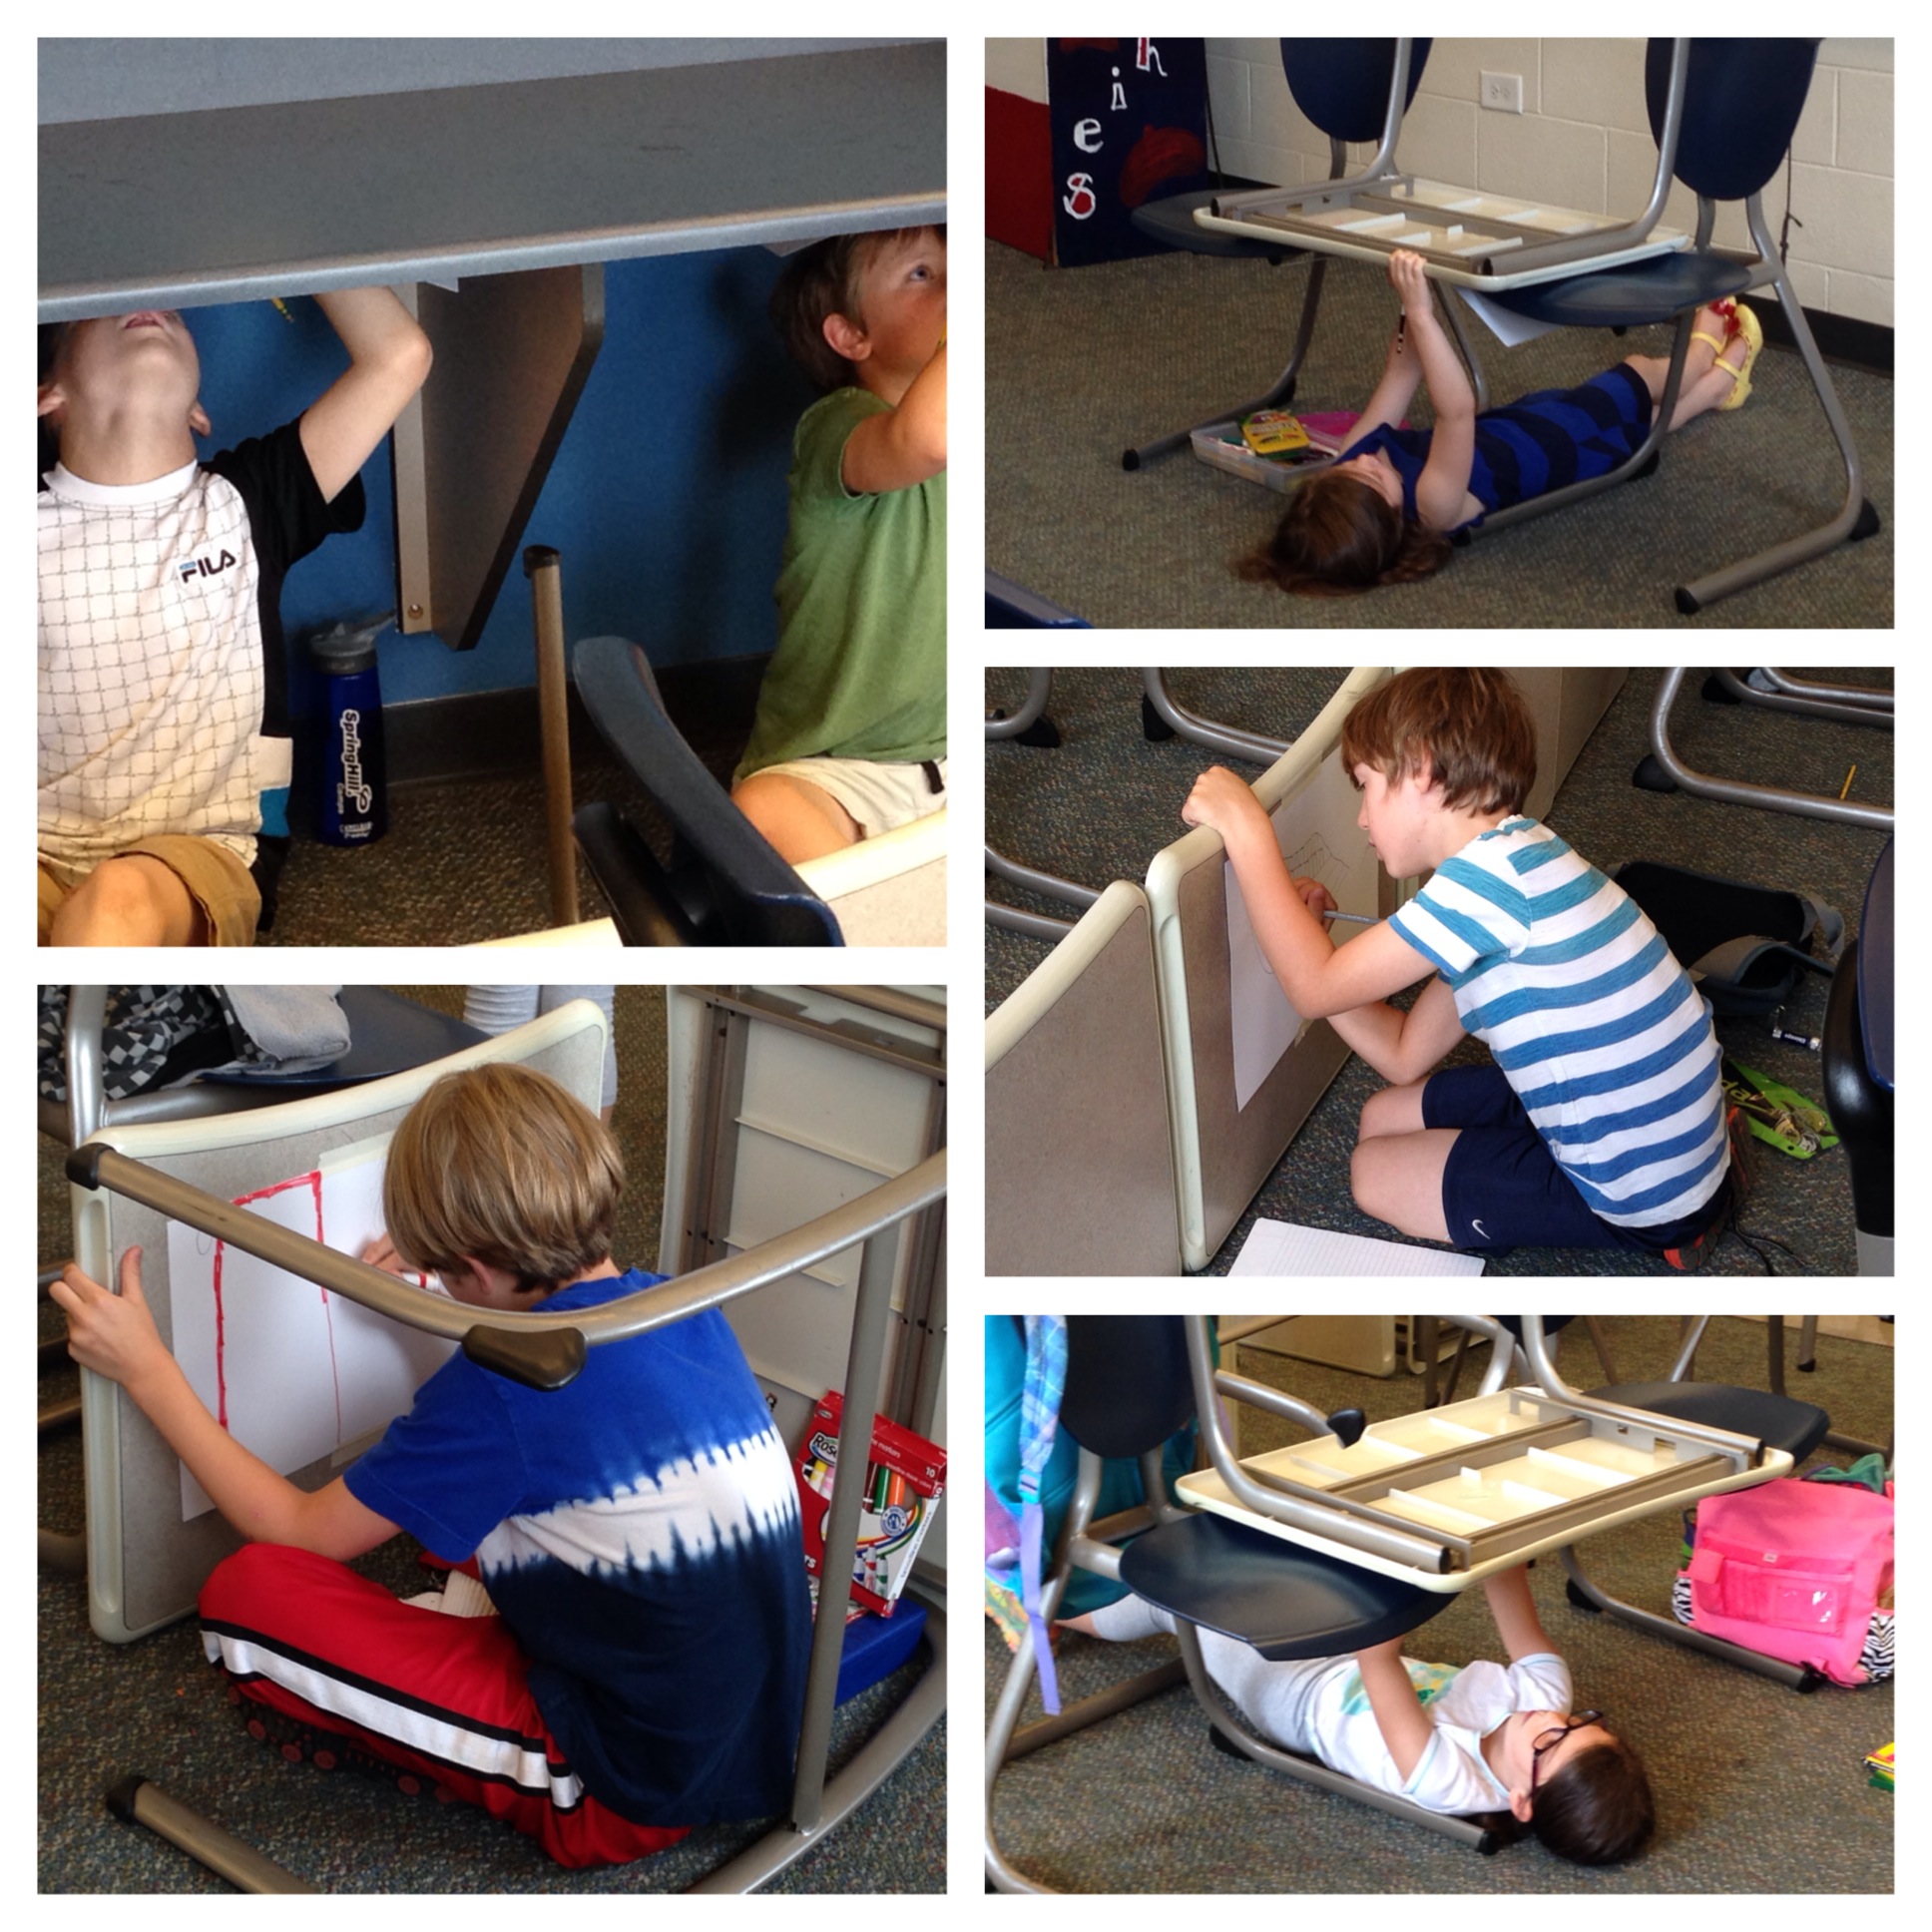
A group of students asked if they could move desks to create their restaurant, and I said “sure”.  Then they started creating “food” and money.  The other group worked on creating multiple menus.  As the day wound down, the restaurants were still being built and were closed for business.  I told them we could continue the next day.

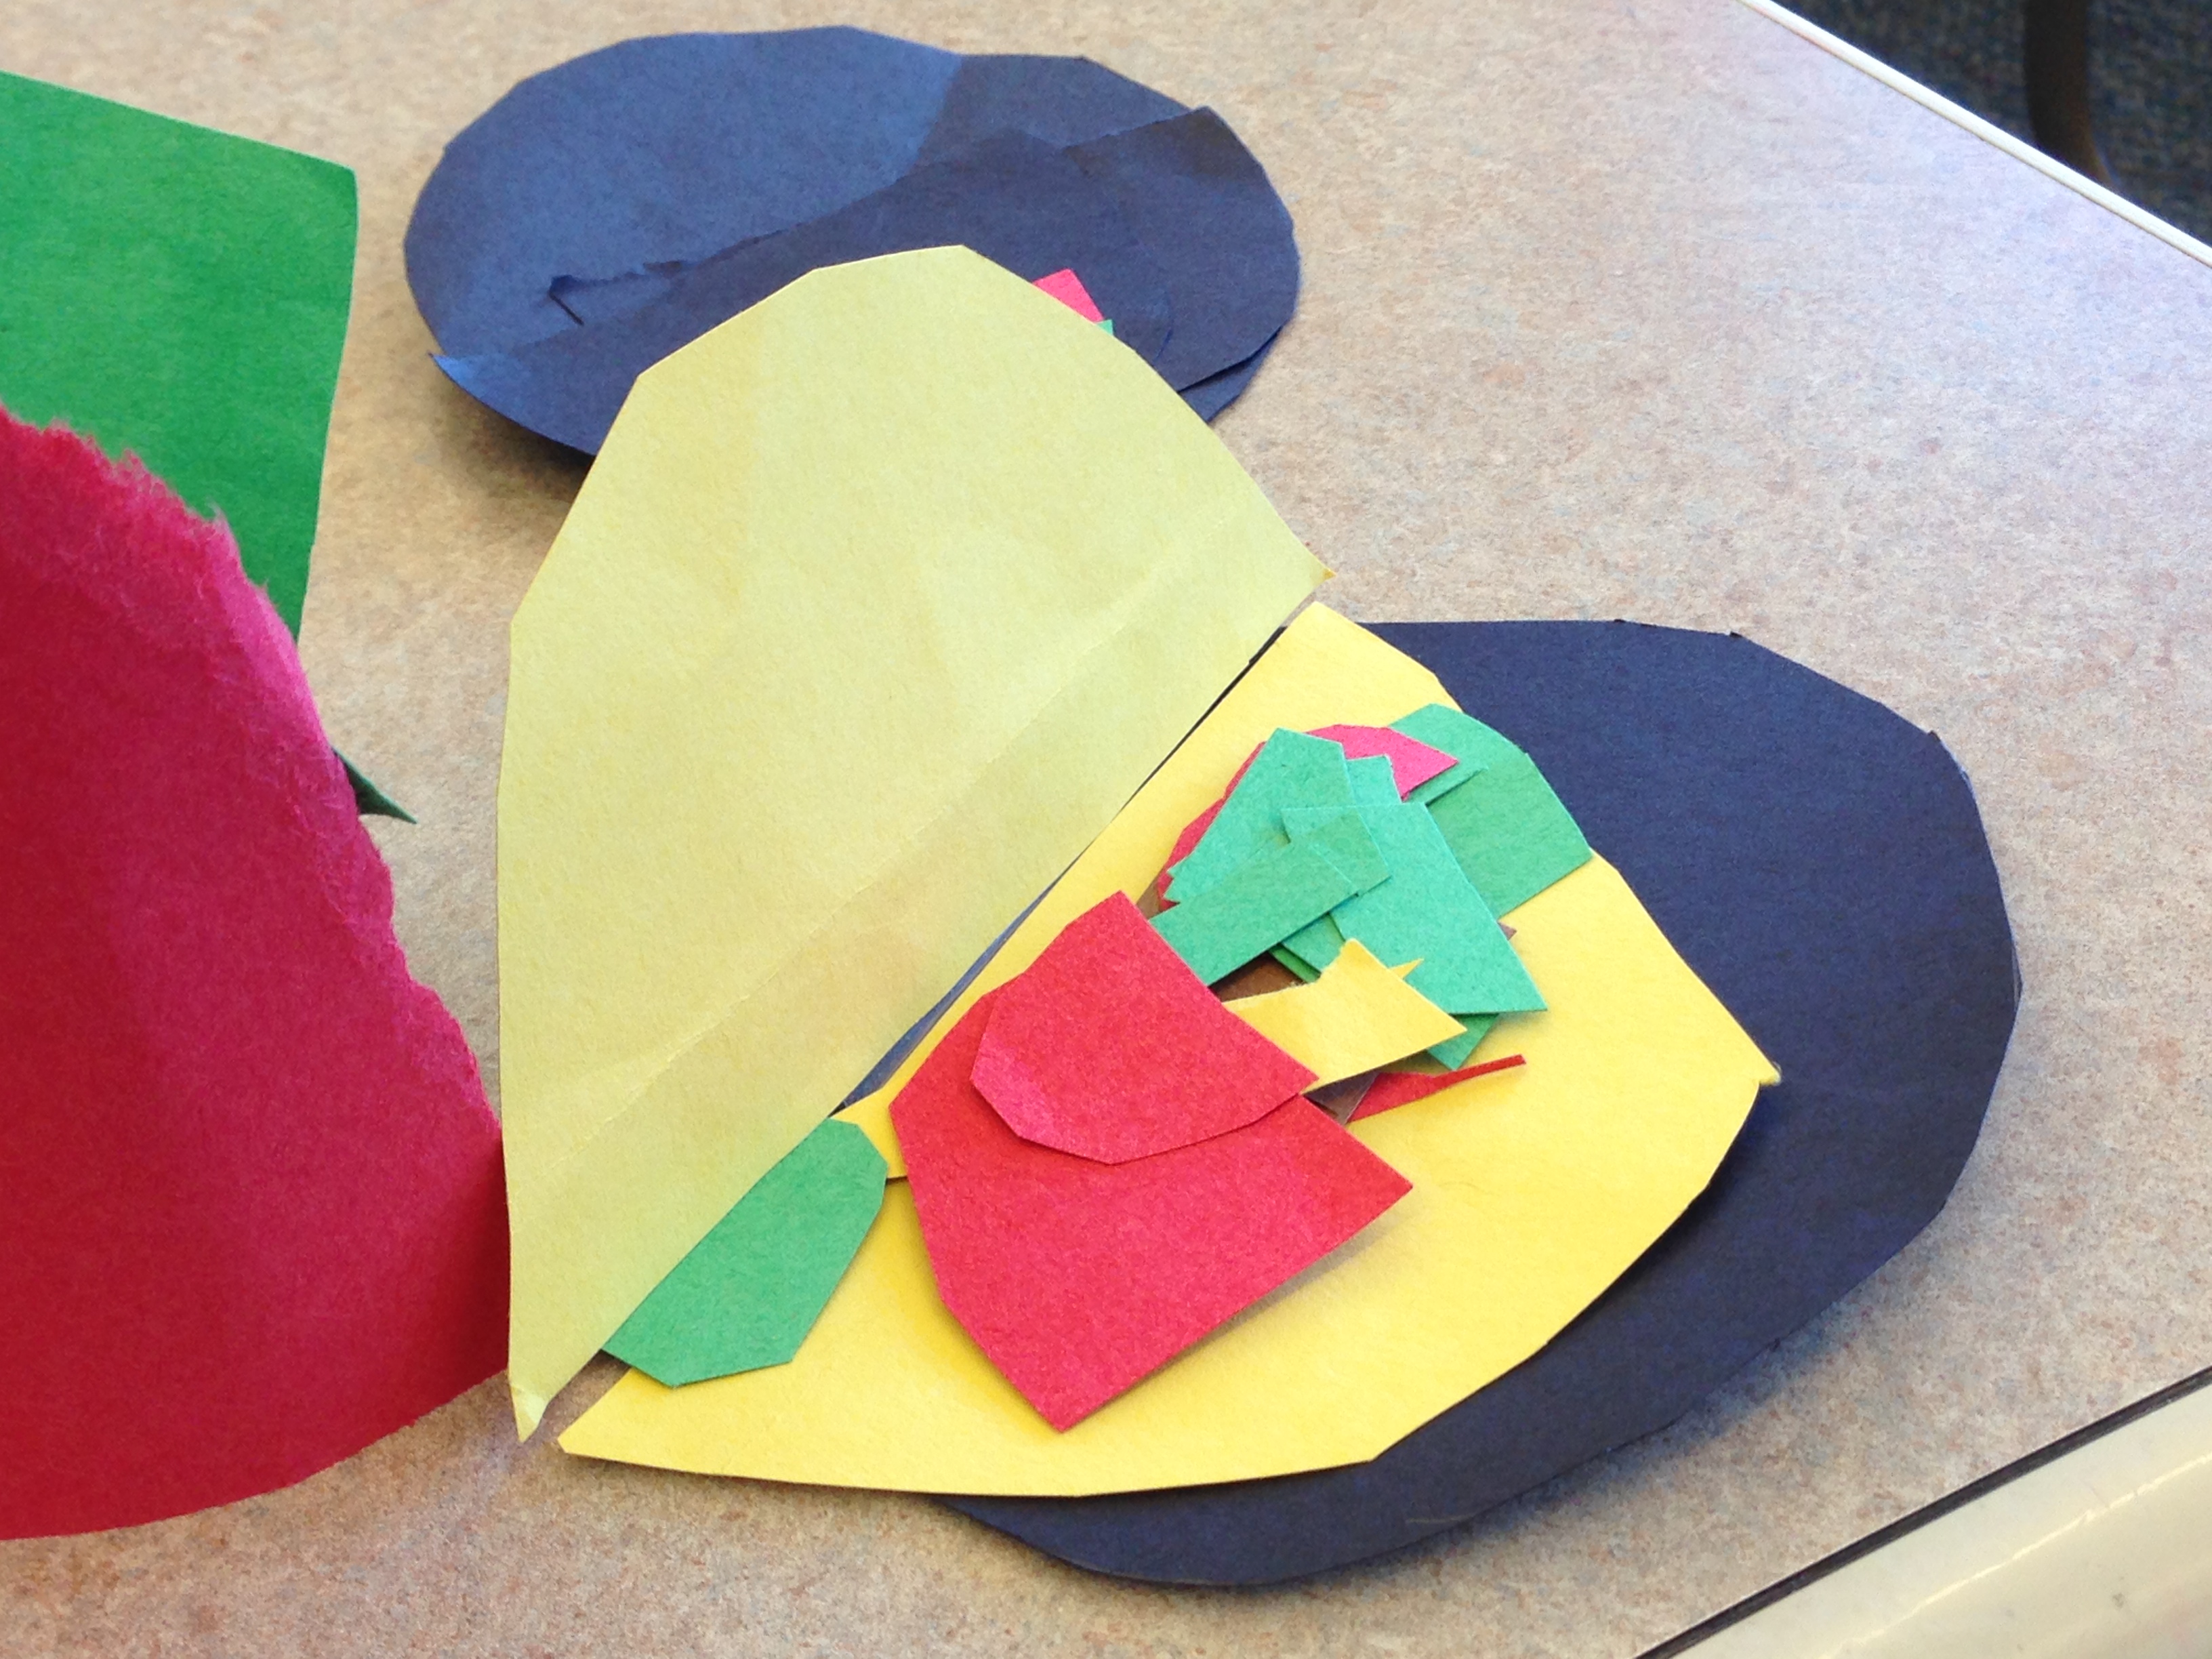
As the students arrived the next day off the bus, they got started right away to set up their restaurants-before class officially began!  Students who had created other restaurants joined forces with the main groups.  They got set up and opened for business.  They each had specific jobs-manager, chef, cashier-and visited each other’s restaurants to eat.  I had the pleasure of being served at both Expreso, where I ate nachos and a quesadilla, and El Espana Buffet, where I had chips and salsa and a taco.  Some students switched their employment and they all worked together.  These students are in different grades (most entering 2nd-3rd) and go to different schools (there are 4 elementary schools in the district) but have found new friendships this summer.

I sat back and enjoyed watching them create and have fun.  I also wonder how I can bring the same amount of energy and excitement to the school year.  What do you do in your classroom that gives students the opportunity to explore and learn?

IMG_0739 IMG_0740 IMG_0747
IMG_0744 IMG_0745

Traveling Around the World

1 Comment

Last week was one of my favorite weeks in my Traveling Around the World summer school class.  Not only do we visit some of my favorite countries, but we also do some of my favorite projects.  It’s really a chance for the students to be original and creative with no boundaries.  it’s interesting to step back and watch what they do given no restrictions or requirements.  Some struggle with that much open-endedness while others take off and thrive.

We start the week off in England, where we build a famous double decker bus.

IMG_0700


Next, we go to Italy and discuss Michelangelo painting the Sistine Chapel.  The students have to draw like Michelangelo.  Unfortunately the bottom of the desks aren’t smooth, so students are able to flip and rearrange the desks to draw.  The room becomes a “mess” of desks and the students are laughing while drawing because they never get to do that at school.  We end the day making and enjoying mini pizzas, a favorite Italian food.

IMG_0713


The third day, we visit France, spending most of our time at the Louvre in Paris.  After discussing the different exhibits in the museum, students then have to make a 3-d piece to go inside the museum.  They are given a variety of materials, such as construction paper, ribbon, pipe cleaners, toilet paper rolls, and buttons, to create their masterpieces.  When they were finished, we took a gallery walk around the room so students could share and explain their artwork.

IMG_0738


To end the week, we visited Greece, where we discussed the Olympics and Greek mythology.  Students then wrote their own myths.

It was a very fun week for both the students and myself.  It is a great reminder of how creative and imaginative students are.  That is an art I don’t want to get lost.

Exploring with Technology

Leave a comment

As the year winds down, we’ve started exploring-it’s the perfect time to learn new technologies and figure out the kinks so we can implement them at the beginning of next year.  Students love using the iPads, and it has helped them stay motivated at this time of the school year.

The app we focused on is Explain Everything (though you do have to purchase it).  We tried it at the beginning of the year during math, but now we’ve been using it for reading strategies.  Students can write and show what they’re thinking in a more engaging way.  Explain Everything is a great tool because it allows you to go back into your project and continue at a later point, which has been helpful as students learned how to use the app.

I explored the app-how to use it and some features-so I was prepared to teach students how to use it.  So far, we have used the app for 2 reading skills: Drawing Conclusions and Compare and Contrast.  Students first chose a picture from their weekly story to use to show their thinking.  They wrote out their sentences, for example, what happened in the picture and what their conclusion was.  We increased the challenge by having them use an amazing vocabulary word.  Separating the writing from the app helped them focus on each part of the project without overwhelming them.

We demonstrated and taught the app during guided reading groups.  We showed them how to take a picture, resize it, and add text.  After showing them the basic features, they were able to create their own project fairly independently.  They caught on quickly to how to use the app, and they wrote amazing sentences.  As they get better at the app and explore it more on their own, they can figure out how to change the text color, label pictures, underline vocabulary words, and record their writing.  We can extend their projects by adding more pages, so they can have all their work in one file or show multiple parts of the same story.

I know there’s more to learn about the app, but I’m excited to start using it, and the students are excited to try something new.  At EdCamp Chicago a few weeks ago, a lot of people mentioned using the app in the elementary classroom.  Also, Shawn McCusker (@ShawnMcCusker) described all the different ways he and his students use Explain Everything in the classroom.  I’m amazed by the different ways it can be incorporated into all concepts in the curriculum.  So far I’ve done math and reading comprehension.  I can’t wait to try more ideas and am open to suggestions.  I’d love to see others’ projects and ideas!

IMG_0565 IMG_0564 IMG_0563
IMG_0592 IMG_0591 IMG_0562

Place Value and Student Exploration

Leave a comment

We began a new math unit in first grade, introducing the concept of place value.  This is an important concept for students to comprehend and explain to build number sense, but it is also challenging.  We began using base-ten blocks to make place value as visual as possible.  Using the blocks and trading really helped students begin understanding the concept of tens and ones.  They had some more difficulty with trading when there were more than ten ones, but with more practice, wheels began turning and slowly students started getting it.

In the computer lab, we used Kidspiration to give students additional practice to build numbers using base-ten blocks.  After modeling, students were given the opportunity to build two or three digit number and write a number sentence explaining how they knew it was that number.  Students were excited to explore and create numbers, and they enjoyed sharing their creations with classmates and me.

IMG_0337

In addition to building numbers and making sure they understood the place value concept, it was also amazing watching students make discoveries about Kidspiration features that helped them increase their understanding.  First, students discovered they could change colors of the blocks, which was just fun.

IMG_0338

Then, one student found a button to make a hundreds, tens, ones chart to organize where the different blocks go based on their value; another student then discovered if you clicked the button again, you create the same chart with the thousands place.

IMG_0339IMG_0340

Near the end of lab time, a final student discovered a button to break apart the blocks so you could see how each level is built on the previous ones.  I thought this was great because students could see 100 ones and 10 tens was the same as 1 hundred.

IMG_0341IMG_0342

It was even better that students were curious and engaged to try features and made discoveries that increased their understanding of a difficult concept.  This was an example of authentic learning and the power of student discovery!

The Art of Play

Leave a comment

Teaching First Grade has reminded me how new everything is to these students.  They truly are discovering the world around them.  Not only do we want to teach them to identify letters and sounds, how to read, and introduce numbers and counting, but it is also our responsibility to teach them the rules and routines of school and how to interact and play with their peers.  It is a long school day with a lot of information to take in for a young child.  Sometimes these kids just need to a break and chance to play.

Play can happen in the form of a break, game, or recess, or as an activity in a lesson.  For a math exploration activity, students were split into 3 groups and told to explore the materials-base 10 blocks, pattern blocks, and geoboards.  Some of these materials were new to the students, and the students loved being able to build and create designs.  To introduce the science unit of balancing, students were given a tagboard crayfish and 2 clothespins; they were told to find a way to balance the crayfish on one finger.  The students were creative and tried putting the clothespins in different places.  Some students also tried balancing the crayfish in other places, such as their forearms, and later, some tried to balance their own body on one foot.  They had fun being hands-on and exploring; as a result, they were able to correctly answer my objectives: what is balancing and what is the purpose of counter-weights.

Even with the increasing standards and demands of school, we can’t lose sight of the fact we are teaching young children.  Sometimes they just need to have fun and have the chance to play.  picstitch